Mastering Eclair Bars: A Complete Recipe Guide
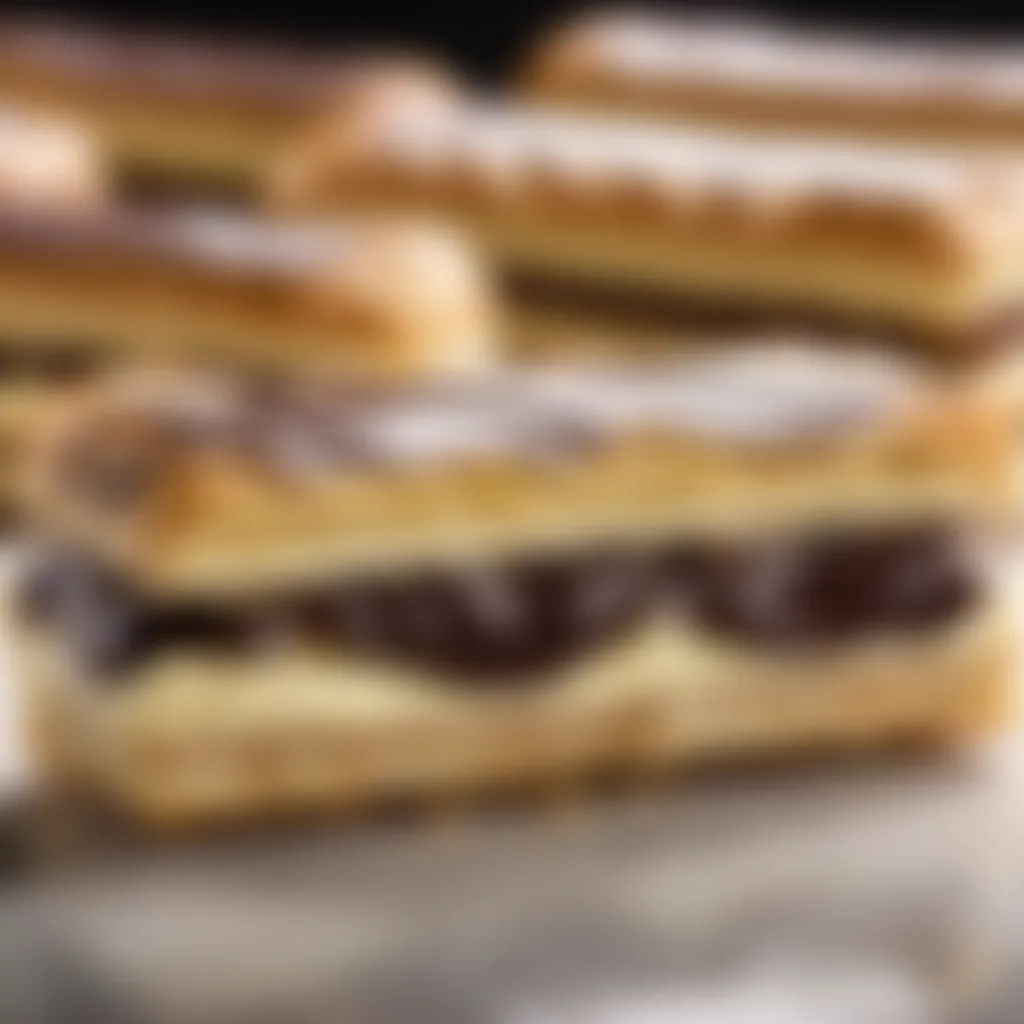
Intro
Creating eclair bars is more than just baking; it's an adventure that captivates both the taste buds and the spirit. These rich, cream-filled pastries bring a slice of French culture into our kitchens, inviting bakers to explore the delicate balance of flavors and textures. The journey to perfecting eclair bars starts with understanding the key elements involved, including a meticulous selection of ingredients and precise techniques.
As we venture into this comprehensive guide, we will not only gather the necessary components for our creation but also take a deep dive into the historical elements and practical steps that define these delectable treats. You will learn what it takes—from the first careful measures to the satisfying moment of biting into a perfectly crafted eclair bar.
Ingredients:
To begin your journey in making eclair bars, here is a complete list of ingredients you’ll need:
- For the choux pastry:
- For the filling:
- For the glaze:
- 1 cup water
- 1/2 cup unsalted butter
- 1 cup all-purpose flour
- 1/4 teaspoon salt
- 4 large eggs
- 2 cups heavy cream
- 1/2 cup powdered sugar
- 1 teaspoon vanilla extract
- 1 cup semi-sweet chocolate chips
- 1 tablespoon vegetable oil
Preparation Steps:
Now that you have all your ingredients in front of you, let’s dive into the preparation process, ensuring a smooth and hassle-free baking experience:
- Make the Choux Pastry:
- Pipe the Pastry:
- Bake the Bars:
- In a medium saucepan, combine the water, unsalted butter, and salt. Bring to a boil over medium-high heat.
- Once boiling, quickly add the flour, stirring vigorously with a wooden spoon until the mixture forms a ball. Cook for an additional 1-2 minutes to dry it out slightly.
- Remove from heat and let it cool for a few minutes. Then, add the eggs one by one, mixing well after each addition until the dough is smooth and shiny.
- Preheat your oven to 400°F (200°C).
- Line a baking sheet with parchment paper.
- Transfer the choux pastry to a piping bag fitted with a large round tip. Pipe long strips about 3 inches in length on the prepared baking sheet, leaving space between them.
- Bake the pastry for 20-25 minutes or until puffed and golden brown. Avoid opening the oven during the first 20 minutes to prevent the choux from collapsing.
- Once done, let them cool completely on a wire rack.
Technical Aspects:
To ensure the best results, pay attention to these temperature settings and timings:
- Oven Temperature: Always preheat the oven to maintain an even baking environment.
- Cooling Time: Allow the pastry to cool completely before filling to avoid a soupy mess.
Cooking Process:
Once the pastry is cool, it's time to fill it up and add the glaze:
- Prepare the Filling:
- Make the Glaze:
- In a mixing bowl, whip the heavy cream, powdered sugar, and vanilla extract until stiff peaks form.
- Carefully cut the cooled eclair bars in half and pipe the creamy filling into each.
- Gently melt the chocolate chips with the vegetable oil in a microwave or over a double boiler, stirring until smooth.
- Dip the tops of the filled eclair bars into the chocolate glaze or pour it over them, letting it set before serving.
The key to success with eclair bars is to remain patient and attentive to every step. When done right, they can be a masterpiece on your dessert table.
Troubleshooting Tips:
Common hitches and how to fix them:
- Flat Eclairs: If your pastries spread while baking, make sure the dough was thoroughly mixed and set correctly before piping.
- Soggy Filling: If your cream filling is too runny, beat it a bit longer or add more powdered sugar to stabilize it.
Take your time and enjoy the nuances! With this guide, you're well on your way to mastering the art of eclair bars.
Intro to Eclair Bars
When one thinks of French pastries, the eclair inevitably dances to the forefront of consciousness. It’s not just a treat; it embodies years of culinary art, ripe with historical context and sumptuous flavor. This section sets the stage for exploring eclair bars, a modern twist on a classic delight that merges tradition with innovation.
Understanding the Importance
Eclair bars are more than mere desserts; they represent a dedication to craftsmanship in baking. They showcase the versatility of choux pastry and the art of cream filling, with an overall aesthetic appeal that commands attention on any dessert table. This article will guide you through the intricacies of crafting these delightful pastries, unraveling the combination of flavors and textures that makes eclair bars such a beloved choice among household bakers.
We’ll break down the complexities into digestible segments, ensuring that both novice and experienced bakers can follow along. Understanding the balance between sweetness and texture is crucial, and we will consider common pitfalls that might cause a home baker to falter.
Beyond just the how-to, there’s a societal lens through which we can view eclair bars. They serve as a canvas for personal expression; be it for family gatherings or elegant soirées, these bars can be adapted to suit any occasion. The evolution of this treat from the traditional eclair to its bar form is a testament to culinary creativity, allowing bakers to play with flavors, fillings, and presentations—all while delighting their guests.
"Baking is both a science and an art, and understanding the foundations sets the stage for creativity."
Now, let’s delve into the rich history behind this pastry, diving into its origin to fully appreciate what makes eclair bars so special.
Origin of Eclair Pastry
The name "eclair" comes from the French term meaning "flash of lightning," a nod to the way they’re supposed to disappear in a flash when served. This classic treat traces its roots back to 19th-century France, attributed to the pastry chef Antonin Carême. It was crafted initially as a long, delicate pastry filled with cream and topped with chocolate or icing. Over time, this treat gained popularity not just in France but across the world.
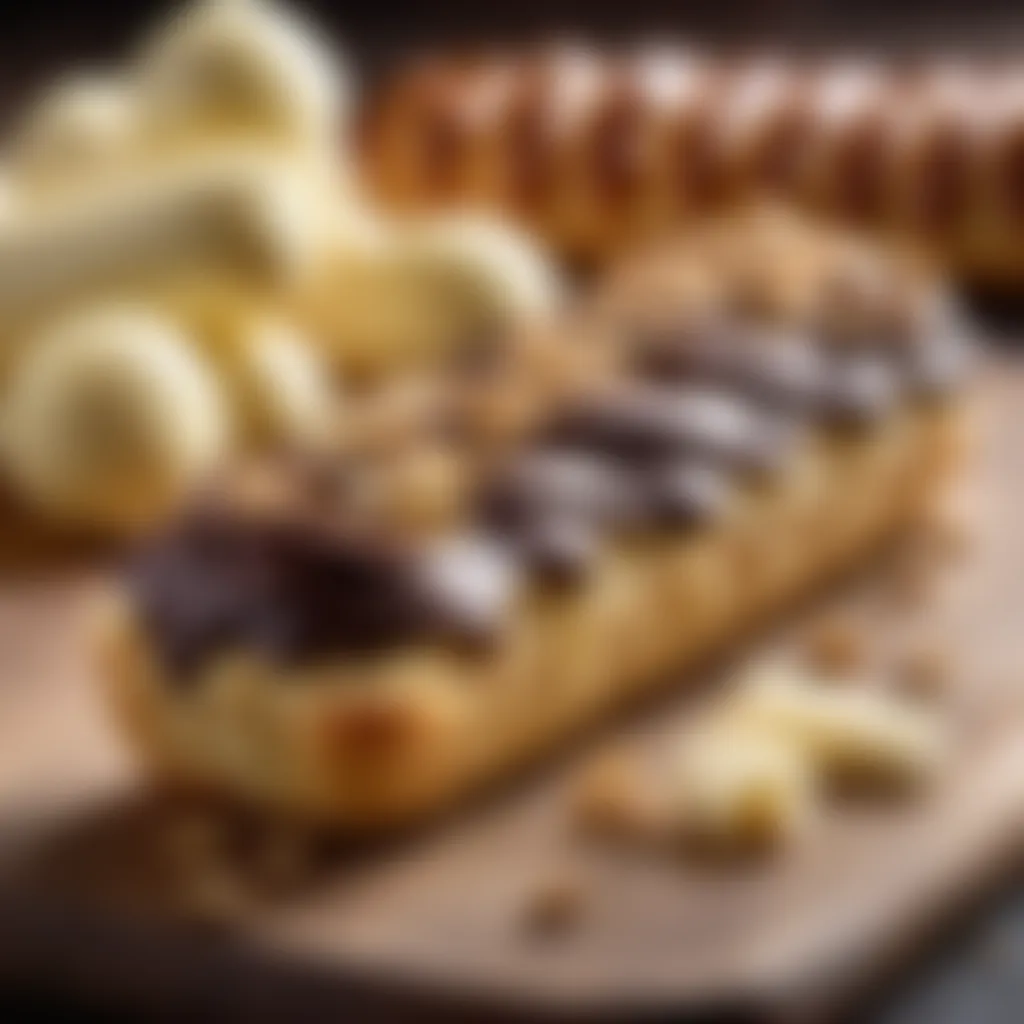
For many, the history of eclairs is deeply intertwined with significant cultural moments. They became a staple in French dessert offerings and also found their way into American baking during the wave of French cultural influence post-World War II. Eclairs slowly transformed from luxurious treats available only at patisseries to beloved homemade desserts.
The Evolution into Bars
In recent years, the eclair has undergone a remarkable transformation, morphing into the more approachable eclair bar. The shift from a pipe-and-fill process to creating bars reflects changing baking trends where convenience meets creativity.
The bar format allows for easier serving and slicing, making them ideal for gatherings where a bite-sized treat is welcome. Moreover, it opens up possibilities for flavor and texture combinations. While the traditional eclair relies heavily on distinct layering of cream and pastry, the bar form can integrate various fillings—think salted caramel, fruity infusions, or even savory twists.
Home bakers are not just limited to some traditional options; the sky’s the limit! The ease of preparation lends itself to experimentation, making eclair bars a fantastic outlet for creativity. It's an invitation to reimagine a classic, allowing for personal touches that resonate with one’s taste.
In the following sections, we will explore essential ingredients and the tools required to whip up this delightful pastry, leading you toward mastering the art of eclair bars.
Understanding the Basic Ingredients
When it comes to crafting the perfect eclair bars, getting a grip on the basic ingredients is key. Each component plays its role, contributing to the overall flavor and texture of this beloved pastry. Understanding these elements not only enhances your culinary skills but also offers insights into how they interact during the baking process.
The Role of Choux Pastry
Choux pastry, a classic French dough, is the backbone of eclair bars. It’s a unique concoction made with equal parts flour and water, along with butter and eggs. When heated, the water in the dough produces steam, creating a light and airy structure. Think of it as the magic trick in baking. This pastry can puff up and create hollow spaces, which will later be filled with a sumptuous cream.
While some might assume making choux pastry is as easy as pie, you’ll find the fun lies in the details. It requires precise measurements and timing. Getting the right consistency can be like hitting a moving target; if you cook it too long, it’s dense; too short, and it won’t rise. A frequent mistake is forgetting to dry out the dough enough before adding eggs, which can lead to disappointing results.
Selecting the Right Cream Filling
The cream filling you choose can make or break your eclair bars. Options range from classic pastry cream to whipped ganache or flavored custards. Each brings its unique flair to the table. For example, vanilla pastry cream offers a rich yet subtle taste, while a chocolate filling can add a luscious depth.
Consider not just the flavor but the texture; too thick, and it becomes hard to pipe; too thin, and it won’t hold its shape. When selecting a filling, quality is paramount. Use fresh ingredients. Real vanilla extract beats imitation hands down. You want a filling that complements the choux and balances its lightness with creaminess. Here are some popular choices to think about:
- Vanilla pastry cream
- Chocolate ganache
- Coffee-flavored custard
- Fruit-infused creams
Glazing Options and Their Importance
The glaze on your eclair bars is more than just a pretty finish; it's a sweet crown that adds flavor and texture. Common choices include chocolate, fondant, or a simple icing sugar glaze. Each option not only affects the flavor but also enhances the overall presentation.
Chocolate glaze, for example, melts beautifully and can add a rich, decadent taste that encapsulates the airy choux. Meanwhile, a fondant glaze provides a sleek and shiny finish but tends to be sweeter. Don’t shy away from getting creative. Experimenting with flavored glazes or even adding toppings like nuts or edible glitter can elevate your eclair bars to new levels.
Keep in mind: The glaze should not overshadow the subtleties of the cream filling. Balancing flavors is essential to achieve that perfect bite.
In the world of pastries, understanding your ingredients is like knowing your tools as a craftsman. Each element has its own story, influencing how the end product turns out. By grasping the roles choux pastry, cream filling, and glaze play in your eclair bars, you set yourself on the path to becoming a true baking aficionado.
Equipment Needed for Making Eclair Bars
When diving into the world of eclair bars, the right tools can make or break your experience. Each piece of equipment serves a purpose, tightly interwoven with the processes that lead to those delightful creamy and crispy treats. It’s not just about having the essentials; it’s about having the right tools that elevate your skills and enhance your baking experience.
Essential Baking Tools
To start off, there are a few baking tools that you'll find indispensable in this journey:
- Piping Bag: This is your go-to for crafting that beautiful choux pastry shape. A sturdy piping bag allows you to control the flow of dough, ensuring uniform bars.
- Piping Tips: A variety of closed star tips work great for choux. This aids in creating a lovely design on the top, adding a touch of flair to your eclair bars.
- Baking Sheets: Non-stick baking sheets can be a lifesaver. They ensure your pastry comes off easily, and they're easier to clean after.
- Silicone Baking Mat: These mats are not only eco-friendly but also provide a non-stick surface that helps maintain the eclair's structure during baking.
- Cooling Rack: After baking, eclair bars need to breathe. A cooling rack ensures that air circulates around, preventing sogginess.
Investing in these tools not only enhances your efficiency but also saves time in cleanup. A well-equipped kitchen transforms the ordeal of baking into an enjoyable task, fuelling your creativity.
Kitchen Equipment for Precision
Precision is key when creating eclair bars. The right kitchen equipment ensures you achieve the desired results every time. Here’s what you’ll need:
- Digital Scale: Accuracy in measuring ingredients cannot be overstated. A digital scale helps in achieving the exact quantity required for a consistent dough every time.
- Thermometer: Having a reliable kitchen thermometer is crucial, especially for checking the temperature of the choux pastry and the cream filling. This tool eliminates guesswork.
- Stand Mixer: Although not strictly necessary, a stand mixer simplifies the mixing process, especially when it comes to whipping cream or achieving silky smooth custard.
- Sifter: Sifting flour and powdered sugar reduces clumps and guarantees that your ingredients blend smoothly, which is essential for a velvety texture.
- Food Processor: This can double as a tool for making whipped cream or even grinding ingredients to create flavored fillings, saving time in your preparation.
Having precise equipment permits the exact measurements and conditions required for crafting perfect eclair bars. Adjusting techniques with reliable tools leads to remarkable outcomes.
"Baking involves science and art alike; with the right equipment, you can flourish in both worlds."
Step-by-Step Preparation Process
The preparation process of eclair bars is the heart and soul of this delightful pastry-making adventure. Getting each step right is indispensable to achieving that perfect blend of textures—crispy on the outside, soft on the inside, filled with creamy goodness, and topped with a glossy finish. Here, we’ll break down each stage while shedding light on the nuances and tricks of the trade.
Making the Choux Pastry
Choux pastry is the foundation of an eclair bar, acting as the canvas for the rest of the artistry. Begin by gathering essential ingredients: all-purpose flour, water, milk, butter, and eggs. The right temperature and quantities are crucial here. Start by melting butter in a pan with water and milk, letting it simmer very lightly. Once the butter is fully melted, add the flour all at once, stirring vigorously until it forms a cohesive ball that pulls away from the sides of the pan. This is arguably one of the most delicate moments. Must not rush it—allow the steam to do its magic, and let it cool slightly before incorporating the eggs, one at a time.
Using a piping bag to fashion your bars, the tip of a size you prefer will determine the final shape. Also, avoid squeezing the bag too tightly; a gentle, consistent pressure does wonders for uniformity. Finally, while baking, watch closely since the oven temperature plays a significant role. If the pastries don’t puff up, you might have opened the oven too soon, and that’s a recipe for disaster.
Shaping and Baking the Bars
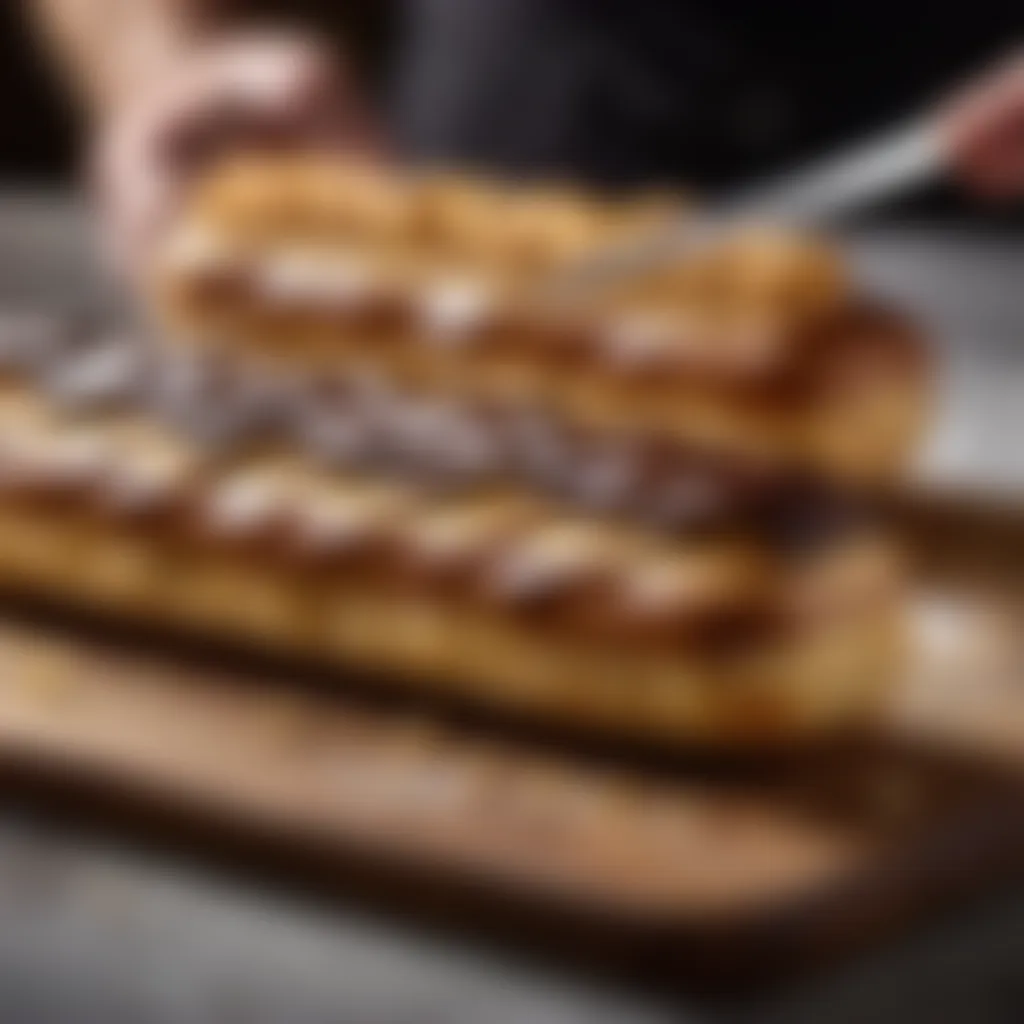
When it comes to shaping, consistency is key; evenly sized bars will bake more uniformly. Pipe the choux pastry onto parchment-lined baking trays, using a ruler for accuracy if you want to be precise—though free-hand often works too. Remember to leave space between each bar so they can expand without sticking to each other. A gentle flick of the wrist, alongside smoothing the tips with a wet finger, ensures an effortless, clean look that bakes evenly.
As for baking, the temperature should be relatively high, around 400°F (200°C). Ensure that the oven is preheated and never open it during the first bake. After about 15 minutes, reduce the temperature to 350°F (175°C) and continue baking until golden brown. A wise tip: leave the oven slightly ajar for the last few minutes to allow moisture to escape. If you don’t, they may collapse as they cool.
Crafting the Cream Filling
One might say the cream filling is the star of the show for eclair bars. Traditional vanilla pastry cream works well, but this is a great time to experiment with flavors that suit your taste. Start with your base of milk, sugar, and eggs; temper the eggs before whisking them into the mixture. Once thickened, take it off the heat, add a sprinkle of salt, and cool completely.
Feel free to mix in flavors like coffee, chocolate, or citrus zest for a twist! Whipping in heavy cream at the end gives the filling an ethereal lightness that’s irresistible. Use a small piping tip to inject the cream into the hollowed-out center of each bar after they have cooled, to maintain their crispiness.
Applying the Glaze
Glazing is what transforms a simple eclair bar into an artful masterpiece. Chocolate glaze is a classic choice, made with high-quality chocolate and heavy cream for that silky finish. Simply melt together over a double boiler and let it cool slightly before dipping the top of each bar.
Besides chocolate, you can also explore options like a caramel glaze or even a fruit-based glaze to pair your flavors. An important note: allow your bars to cool entirely before glazing; otherwise, the heat will cause the glaze to melt into a gooey mess. Once dipped, set them on a wire rack so the excess can drip off.
"The charm of eclair bars lies not just in their taste, but in the elegance of their presentation."
By meticulously following each of these steps, from pastry-making to glazing, you’ll be on the path to creating eclair bars that are not only delicious but also a feast for the eyes.
Whether you stick to traditional flavors or venture into new territory, the satisfaction of mastering this process will certainly shine through in every bite.
Common Pitfalls and How to Avoid Them
Creating eclair bars, while rewarding, is not without its hurdles. Understanding some of the common setbacks can save you time and frustration. This section will illuminate a couple of the key snafus home bakers might encounter—the kind that can turn your pastry dreams into a flat, doughy mess. By recognizing these pitfalls, you can confidently navigate the eclair-making process with greater ease. Armed with this knowledge, you’ll find the journey from raw ingredients to delightful treats much smoother.
Overbaking and Its Consequences
One of the most frequent issues when baking eclair bars is overbaking. It’s a sneaky little gremlin that often goes unrecognized until it's too late. Eclairs rely on a brief period of high heat to puff up beautifully. However, if they stay in the oven a minute too long, they can become dry and hard as a rock. Nobody wants to bite into an eclair that could double as a hockey puck. Moreover, the visual appeal diminishes dramatically when the pastry turns golden to brown.
To avoid overbaking:
- Keep an eye on the clock: Timing is crucial. Once you hear that first pop of the pastry expanding, start checking every couple of minutes.
- Invest in an oven thermometer: Sometimes, home ovens lie. They might claim to be at a certain temperature while actually being far hotter or cooler. A thermometer can help you keep things on track.
- Do the jiggle test: When you take them out, give an eclair a gentle shake. If it’s too jiggly in the middle, it might not be done, but if it feels unnervingly firm, you might have gone too far.
This quick approach can help rescue your eclairs from oblivion. Remember, it’s about achieving a light, airy shell that crumbles delicately at each bite.
Issues with the Cream Filling
Next up is the cream filling, the heart and soul that makes eclair bars so heavenly. Ruining your cream can be a catastrophe in its own right. Whether it’s overly runny, curdled, or bland, adjusting your cream for the perfect taste and texture is essential. You want a filling that is rich and smooth, enticing anyone fortunate enough to cross paths with your eclair bars.
Common issues with cream fillings include:
- Curdling: This often happens if the cream is heated too rapidly or combined improperly with other ingredients. Use medium heat and mix slowly.
- Too thin: A runny cream can make the eclair look sad. This can be avoided by ensuring your ingredients are properly emulsified. You might even consider using a thickener like cornstarch to guarantee that creamy consistency.
- Flavorlessness: Don’t underestimate the power of seasoning. Adding a pinch of salt can enhance the flavor, while vanilla extract or even citrus zest can give it a refreshing twist.
Here’s a quick method to keep your creams from turning into a tragedy:
Tip: When mixing your cream or any ingredient, start slow and gradually increase speed to avoid splattering or clumping. Also, tasting as you go will lead to a far superior filling.
In summary, understanding how to avoid these common pitfalls can elevate your eclair bars from good to unforgettable. Observing proper baking times and perfecting your cream filling will make you the star of any dessert table. Happy baking!
Variations of Eclair Bars
When it comes to eclair bars, the realm of variations is as vast as a cake’s frosting choices. Each twist and turn provides fresh experiences that make these pastries versatile and exciting. Understanding the significance of these variations is essential, especially for the discerning home baker so eager to impress family and friends. Incorporating unique flavors and creative glazes doesn’t just enhance the taste; it also showcases individuality and culinary creativity. Variations give you the chance to put a personal stamp on your creations, turning a traditional dessert into something extraordinary.
Flavored Cream Fillings
The heart of eclair bars, the cream filling, is where you can truly let your imagination run wild. While classic vanilla is a favorite, the possibilities are near endless. Consider the rich taste of chocolate ganache for those chocolate devotees among us. Maybe a vibrant raspberry or zesty lemon curd could elevate your offering to a refreshing delight for warmer months. Here are a few options:
- Vanilla Bean: Traditional yet beloved, thick and creamy, infused with real vanilla specks.
- Chocolate: Rich and luscious, perfect for the chocoholics, easily made with dark or milk chocolate.
- Coffee: A sophisticated choice, combining a bold coffee flavor with a smooth texture.
- Fruit Purees: Such as strawberry or passionfruit, to give a refreshing burst of flavor.
Experimenting with different cream fillings allows you to cater to varying palates. And in doing so, you might just hit on a combination that becomes your family’s new favorite.
Innovative Glaze Combinations
Once you have selected a mouth-watering filling, the next challenge is choosing an equally enticing glaze. The glaze is the crowning glory for your eclair bars, presenting a stunning visual appeal along with an added layer of flavor. While chocolate glaze is a classic, why not explore some inventive combinations? Here are a few glazes to consider:
- Classic Chocolate Glaze: Using melted chocolate and butter for a glossy finish.
- White Chocolate Macadamia: Bright and creamy, this glaze adds a nutty twist.
- Citrus Glaze: Light and refreshing, made with lemon or orange juice to balance sweetness with a zesty kick.
- Matcha Green Tea: An intriguing take that not only offers a unique taste but also a striking green color.
"The magic of eclair bars lies in their ability to be transformed with just a change in cream filling or glaze. Embrace the variations, and you'll keep your baking fresh and exciting!"
Both flavored cream fillings and innovative glazes open the doors to a world of flavor that caters to all sorts of tastes. Essentially, with each variation, you make your eclair bars more than just a sweet treat but a conversation starter at any gathering. The creativity behind variations not only provides satisfaction for you, the baker, but also creates a memorable tasting experience for your guests.
Presentation Techniques for Eclair Bars
When it comes to eclair bars, the visual appeal plays just as crucial a role as their taste. The art of presentation is about transforming a simple dessert into a stunning centerpiece. Whether you're showcasing your eclair bars at a gathering or for a cozy family dinner, how you present them can elevate the eating experience significantly. First impressions matter, and an eye-catching dessert grabs attention and whets the appetite.
Using the right presentation techniques can highlight the textures and flavors of the eclair bars. This includes thoughtful plating, garnish selection, and a touch of creativity that can distinguish your pastry from the rest. Moreover, a well-presented dessert can spark joy and excitement, turning any occasion into a celebration.
Plating Ideas
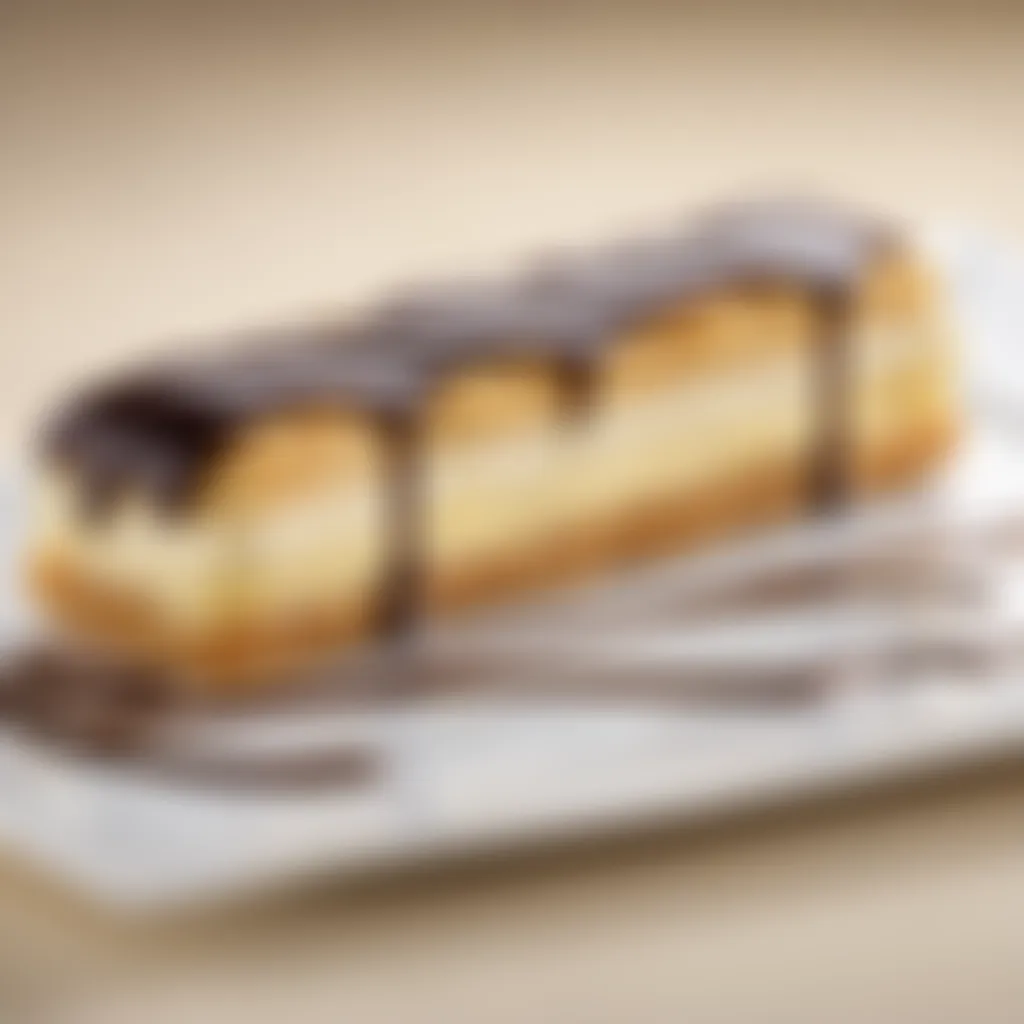
Plating eclair bars effectively sets the tone for the entire dessert experience. Here are some ideas that may inspire you:
- Simple Elegance: Place your eclair bars on a white plate, allowing their colors to pop. A minimalist approach often exudes sophistication.
- Layered Display: Consider stacking the eclair bars slightly offset on a tiered stand. This not only saves space but also creates visual interest.
- Side by Side: Arrange them in a row on a long rectangular platter. Add some sauces or coulis along the edge to draw the eye.
- Circular Arrangement: Create a circular base using smaller eclair bars, with a featured larger one in the center. This draws the eye inward and makes the centerpiece stand out.
- Textured Backgrounds: Use textured fabric or decorative paper as a base under the plate to enhance the look. Think rustic or elegant depending on your theme.
Each of these options can adapt to fit your style, whether it’s for a casual gathering or a more formal occasion. Pay attention to balance and ensure that the dessert doesn’t feel cramped but instead is given space to breathe on the plate.
Garnishes that Complement
When it comes to garnishes, the right accent can make all the difference between a good dessert and a great one. Garnishes not only add flavor but also enhance the visual aesthetics of your eclair bars. Here are a few options to think about:
- Fresh Berries: Strawberries, blueberries, or raspberries bring color and freshness, as well as a delightful contrast to the sweetness of the bars.
- Mint Leaves: A sprig of mint can add a pop of green and an aromatic touch that tantalizes the senses.
- Chocolate Shavings: Delicate curls of dark chocolate can infuse complexity and a touch of elegance when sprinkled on top.
- Nuts or Crumbles: Toasted almonds or crushed cookies sprinkled around the plate can add a nice texture, enhancing the overall pastry experience.
- Caramel or Chocolate Drizzle: A few creative swirls using a squeeze bottle can add sophistication and direct attention to the eclair bars.
Creating a beautiful presentation is like threading together a fine tapestry; it requires attention to detail and an eye for harmony.
Remember, the key is to maintain a balance between aesthetics and flavor. A well-thought-out presentation not only delights the eye but also anticipates the taste buds, ensuring that your eclair bars will be a talked-about highlight at any event.
Storing and Serving Eclair Bars
Storing and serving eclair bars is a crucial aspect of enjoying these delightful pastries that can often determine how well they maintain their delicious characteristics. Proper storage affects not only the texture and flavor of the bars but also their overall presentation. If you've poured your heart and soul into creating these sweet delights, you’ll want to ensure that they stay fresh and appealing when it is time to share them.
Optimal Storage Conditions
Storing eclair bars correctly is essential to preserving their lightness and creaminess. Here are some key tips:
- Refrigeration is Key: These pastries are best kept in the refrigerator. The cream filling can spoil if left at room temperature for too long. A covered container is ideal; it prevents them from absorbing unwanted odors from other foods.
- Avoid Stacking: When you place your eclair bars in the fridge, avoid stacking them directly on top of one another. Instead, use layers of parchment paper between them to keep them from sticking together. This keeps the tops pristine and ready for presentation.
- Short-Term Storage: For best results, eat eclair bars within three days of making them. If stored properly in the refrigerator, their flavor and texture will be at their peak for this duration. Beyond that, the filling can start to separate, and the pastry may lose its crispness.
- Freezing Possibility: If you need to store eclair bars for a longer period, they can be frozen. However, it's advisable to freeze the choux pastry separately from the filling and glaze. This way, you can bake and assemble them fresh when you're ready to serve. Wrap the baked and cooled pastry in plastic wrap, and store it in an airtight container in the freezer. The same goes for the filling, just make sure to allow it to thaw in the fridge before piping it into the pastry.
Tip: Do not freeze or refrigerate assembled eclair bars if they are already glazed. The glaze can become soggy and lose its luster.
Best Served Techniques
Serving eclair bars properly can enhance your guests’ experience and truly showcase your efforts in baking. Here are some effective serving techniques:
- Presentation is Everything: Arrange the eclair bars on a beautiful platter—visual appeal matters. You can dust them lightly with powdered sugar or drizzle some extra glaze over the top before serving.
- Garnishing Touches: Consider adding a touch of garnishing like fresh fruit or edible flowers. These can not only brighten the plate but also add a burst of color that is inviting to the eye.
- Temperature Matters: Serve eclair bars straight from the fridge. They taste best chilled, allowing the flavors to come together. Serve them on individual plates or a communal platter, making sure to provide forks for easy enjoyment.
- Accompanying Beverages: Think about pairing eclair bars with a cup of coffee or tea. The bitterness of coffee complements the sweetness of the bars, and it creates a delightful balance for the palate.
By storing and serving eclair bars with care, your culinary creations can offer a sublime experience for all who indulge in them. \n Enjoy these treats that merge sophistication and comfort, creating a sweet centerpiece at any dessert table.
Nutritional Aspects of Eclair Bars
Understanding the nutritional aspects of eclair bars is essential for anyone interested in both cooking and health. When we think of these sweet treats, it’s easy to get lost in their decadent flavor and alluring appearance. However, it’s critical to also consider what goes into these pastries and how they fit into our dietary needs.
The importance of exploring the nutritional content cannot be understated. Not only do eclair bars offer a delightful experience in taste and texture, but they also present an opportunity to make informed choices in the kitchen. For those who have dietary limitations or specific health goals, being aware of nutritional value can make the difference between indulgence and excess.
Caloric Content Analysis
Eclair bars, though delicious, can pack a fair punch when it comes to calories. On average, a single eclair bar may contain anywhere from 200 to 400 calories, depending on its size and the ingredients used. The primary contributors to these numbers typically include:
- Choux pastry: This base element is largely made from flour, butter, and eggs. While it provides the lightness and structure, it also brings essential calories due to the fat content from the butter.
- Cream filling: Depending on whether you're using whipped cream, pastry cream, or any richer filling, this part can add significantly to the caloric figure. Creams high in sugar increase calorie counts even more.
- Glaze: Don’t overlook the glaze. Whether chocolate, caramel, or even fruit-based, each adds both flavor and extra calories.
In essence, one must enjoy eclair bars mindfully while keeping a keen eye on their caloric intake. A good approach could be to enjoy a half-bar and pair it with a cup of herbal tea; this balances enjoyment with moderation.
Ingredient Substitutions for Dietary Needs
One major advantage of eclair bars is the flexibility of their ingredients, allowing for various substitutions depending on dietary needs. Here are some alternative approaches to consider:
- Gluten-Free Flour: For those who have gluten sensitivity, there are many great gluten-free flour blends available. Sometimes a simple 1:1 replacement can work wonders in a choux pastry.
- Dairy Alternatives: Instead of whole milk or cream, you can utilize coconut milk or almond milk for fillings. These options still yield a creamy texture without the dairy.
- Reduced Sugar Options: Cutting down sugar doesn't have to compromise flavor. Substitutes like stevia or monk fruit sweetener can provide sweetness without the extra calories.
- Lower Calorie Fillings: Whip up a lightened version of pastry cream using yogurt or/or ricotta cheese. It’s not only lower in calories, but is also packed with protein to keep you satisfied.
Ultimately, knowing these alternatives means you can adjust the recipe to fit different dietary needs while still relishing the joy of eclair bars.
Remember, food is not just about fuel; it's about enjoyment, balance, and sometimes a splash of creativity.
Epilogue
In wrapping up our exploration of eclair bars, it's crucial to reflect on the core elements we've discussed throughout this guide. Firstly, the intricate dance between tradition and modern techniques stands out. Understanding the origins of the eclair as a pastry, and how it has morphed into the bar form, enriches our appreciation for these delightful treats.
Moreover, mastering the basics, from crafting the choux pastry to selecting the right cream filling, forms the backbone of creating successful eclair bars. Pay attention to the details in each stage of preparation; these can make or break your dessert. With the right ingredients and tools, one can transform a simple recipe into a work of art.
Consider too the variations discussed, whether flavored creams or innovative glaze combinations. These options allow for creativity, catering to various palates and giving you room to personalize your creations.
It is often said,
"The best laid plans of mice and men often go awry." Yet, in baking, a little preparation and knowledge can go a long way. Embrace the learning process, acknowledging that missteps can happen, but they offer invaluable lessons.
Recap of Key Points
In essence, we’ve covered:
- The historical context of eclair pastries as well as their evolution.
- The central role of ingredients like choux pastry and cream filling in creating luscious eclair bars.
- Essential equipment needed for precision baking.
- A detailed step-by-step process to master the art of making these bars.
- Common pitfalls to watch out for during preparation to ensure a successful outcome.
- Exciting variations that can be explored to keep your eclair bars fresh and engaging.
Final Thoughts on Mastering Eclair Bars
Mastering eclair bars is not just about following a recipe; it’s about understanding the techniques behind each step. Take your time experimenting and finding your unique touch. Whether you intend to impress guests or are simply treating yourself, these bars can be both a challenge and a delight.
As you venture into the world of baking, remember that every made eclair bar is an opportunity to learn and enjoy the process. When you have a handle on this art, the rewards are sweet - not just in terms of flavor, but in the joy of creation. So roll up your sleeves, gather your ingredients, and let your culinary journey begin!


